


A Step-By-Step Guide To Planting Fruit Trees
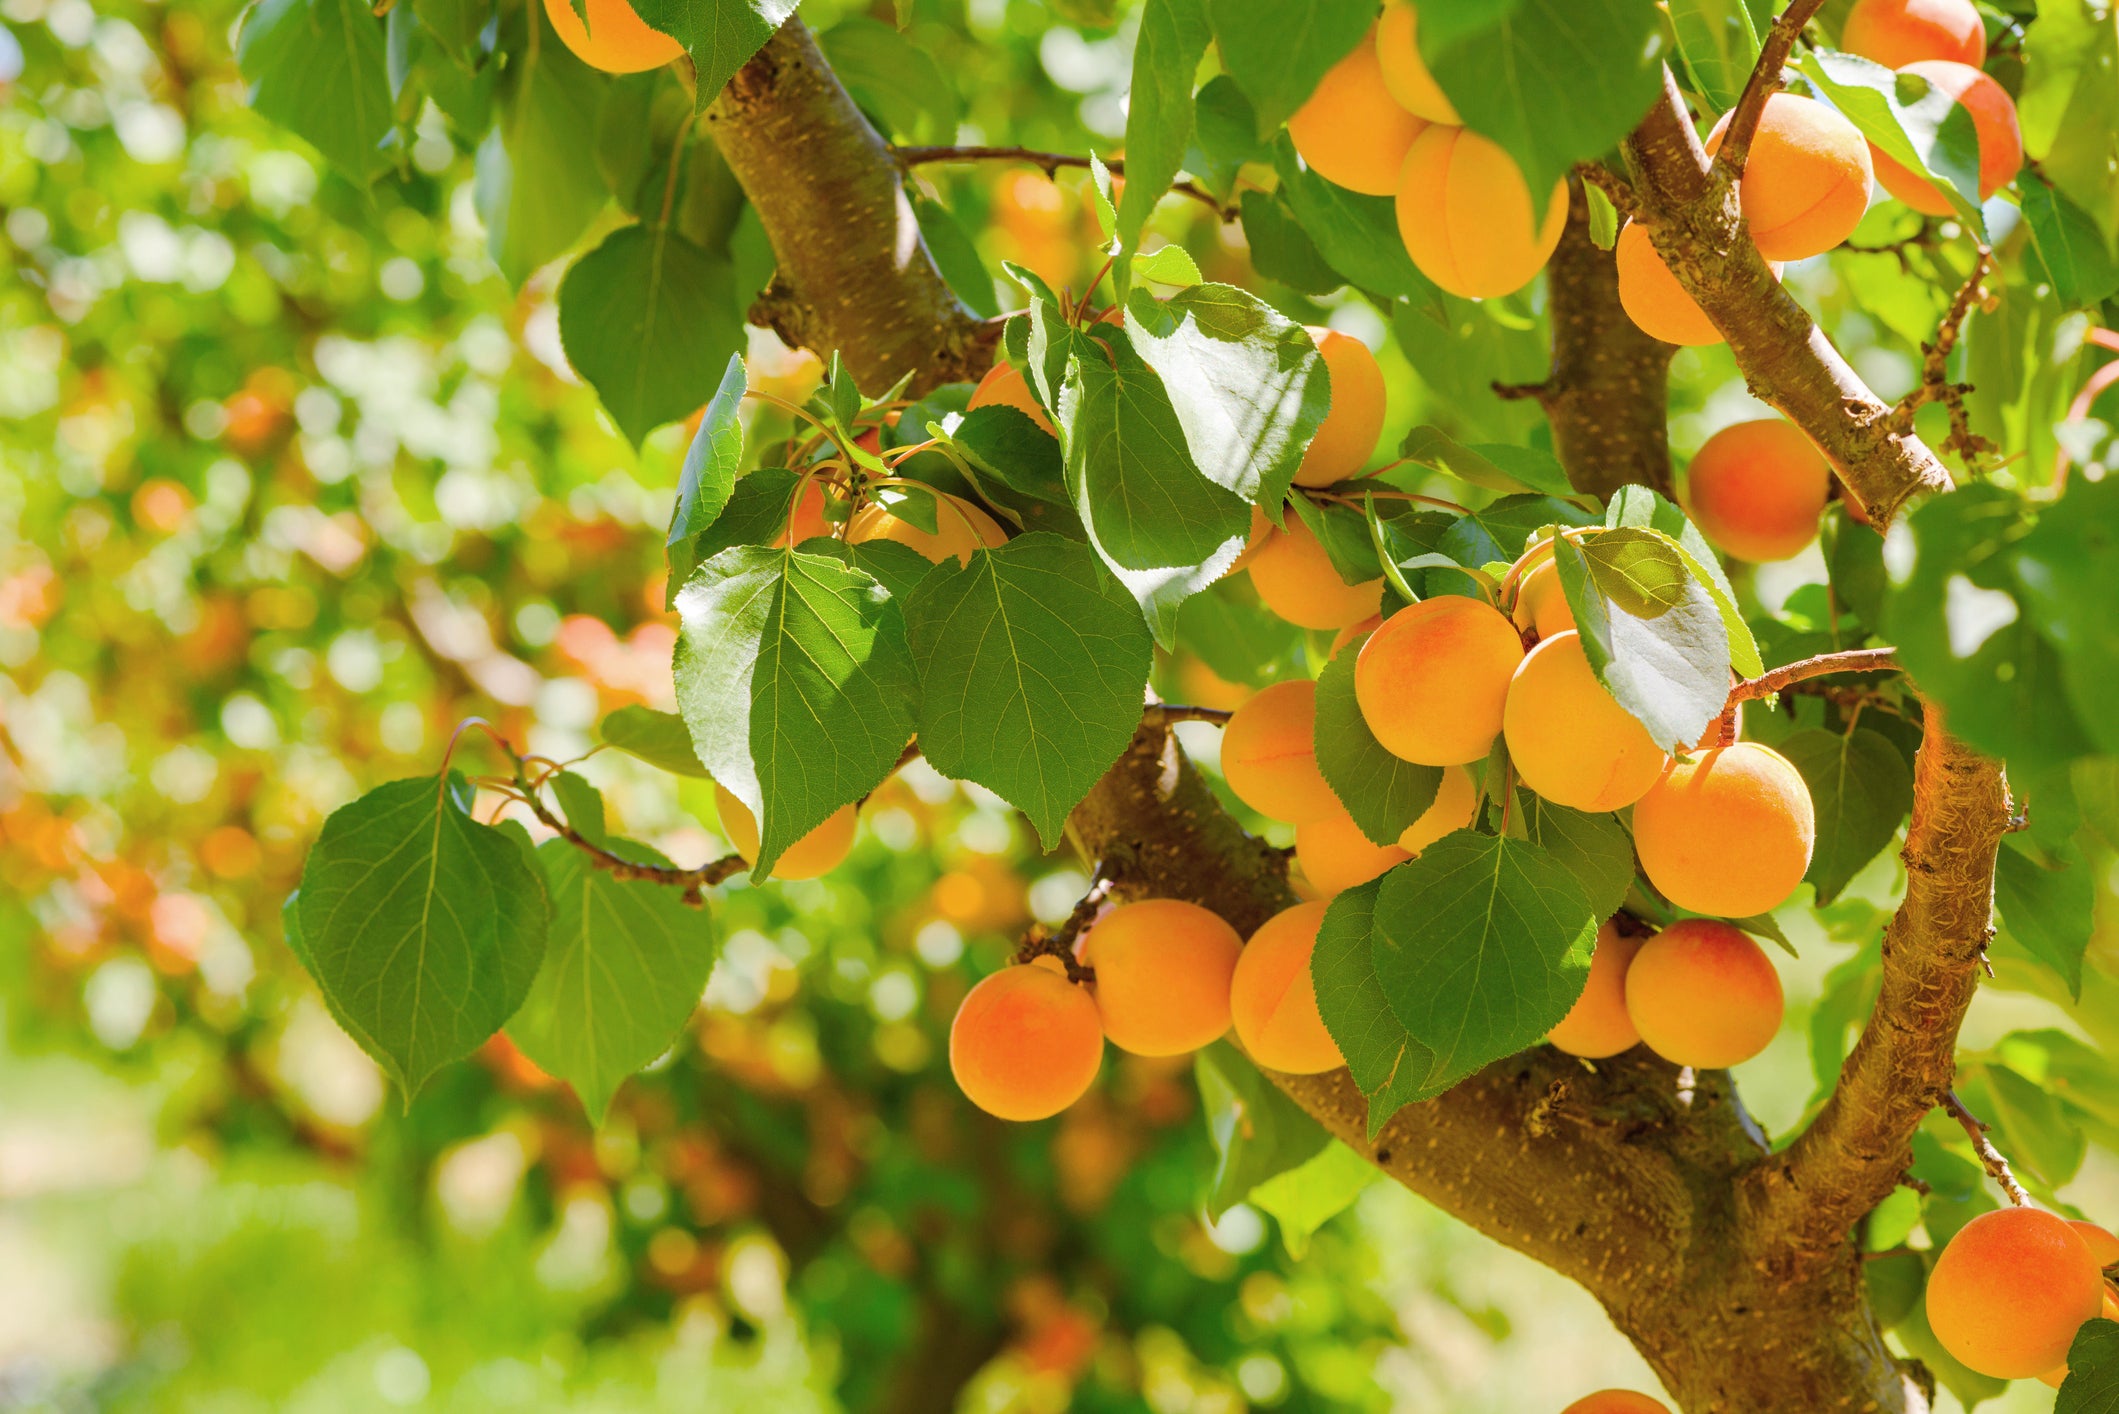
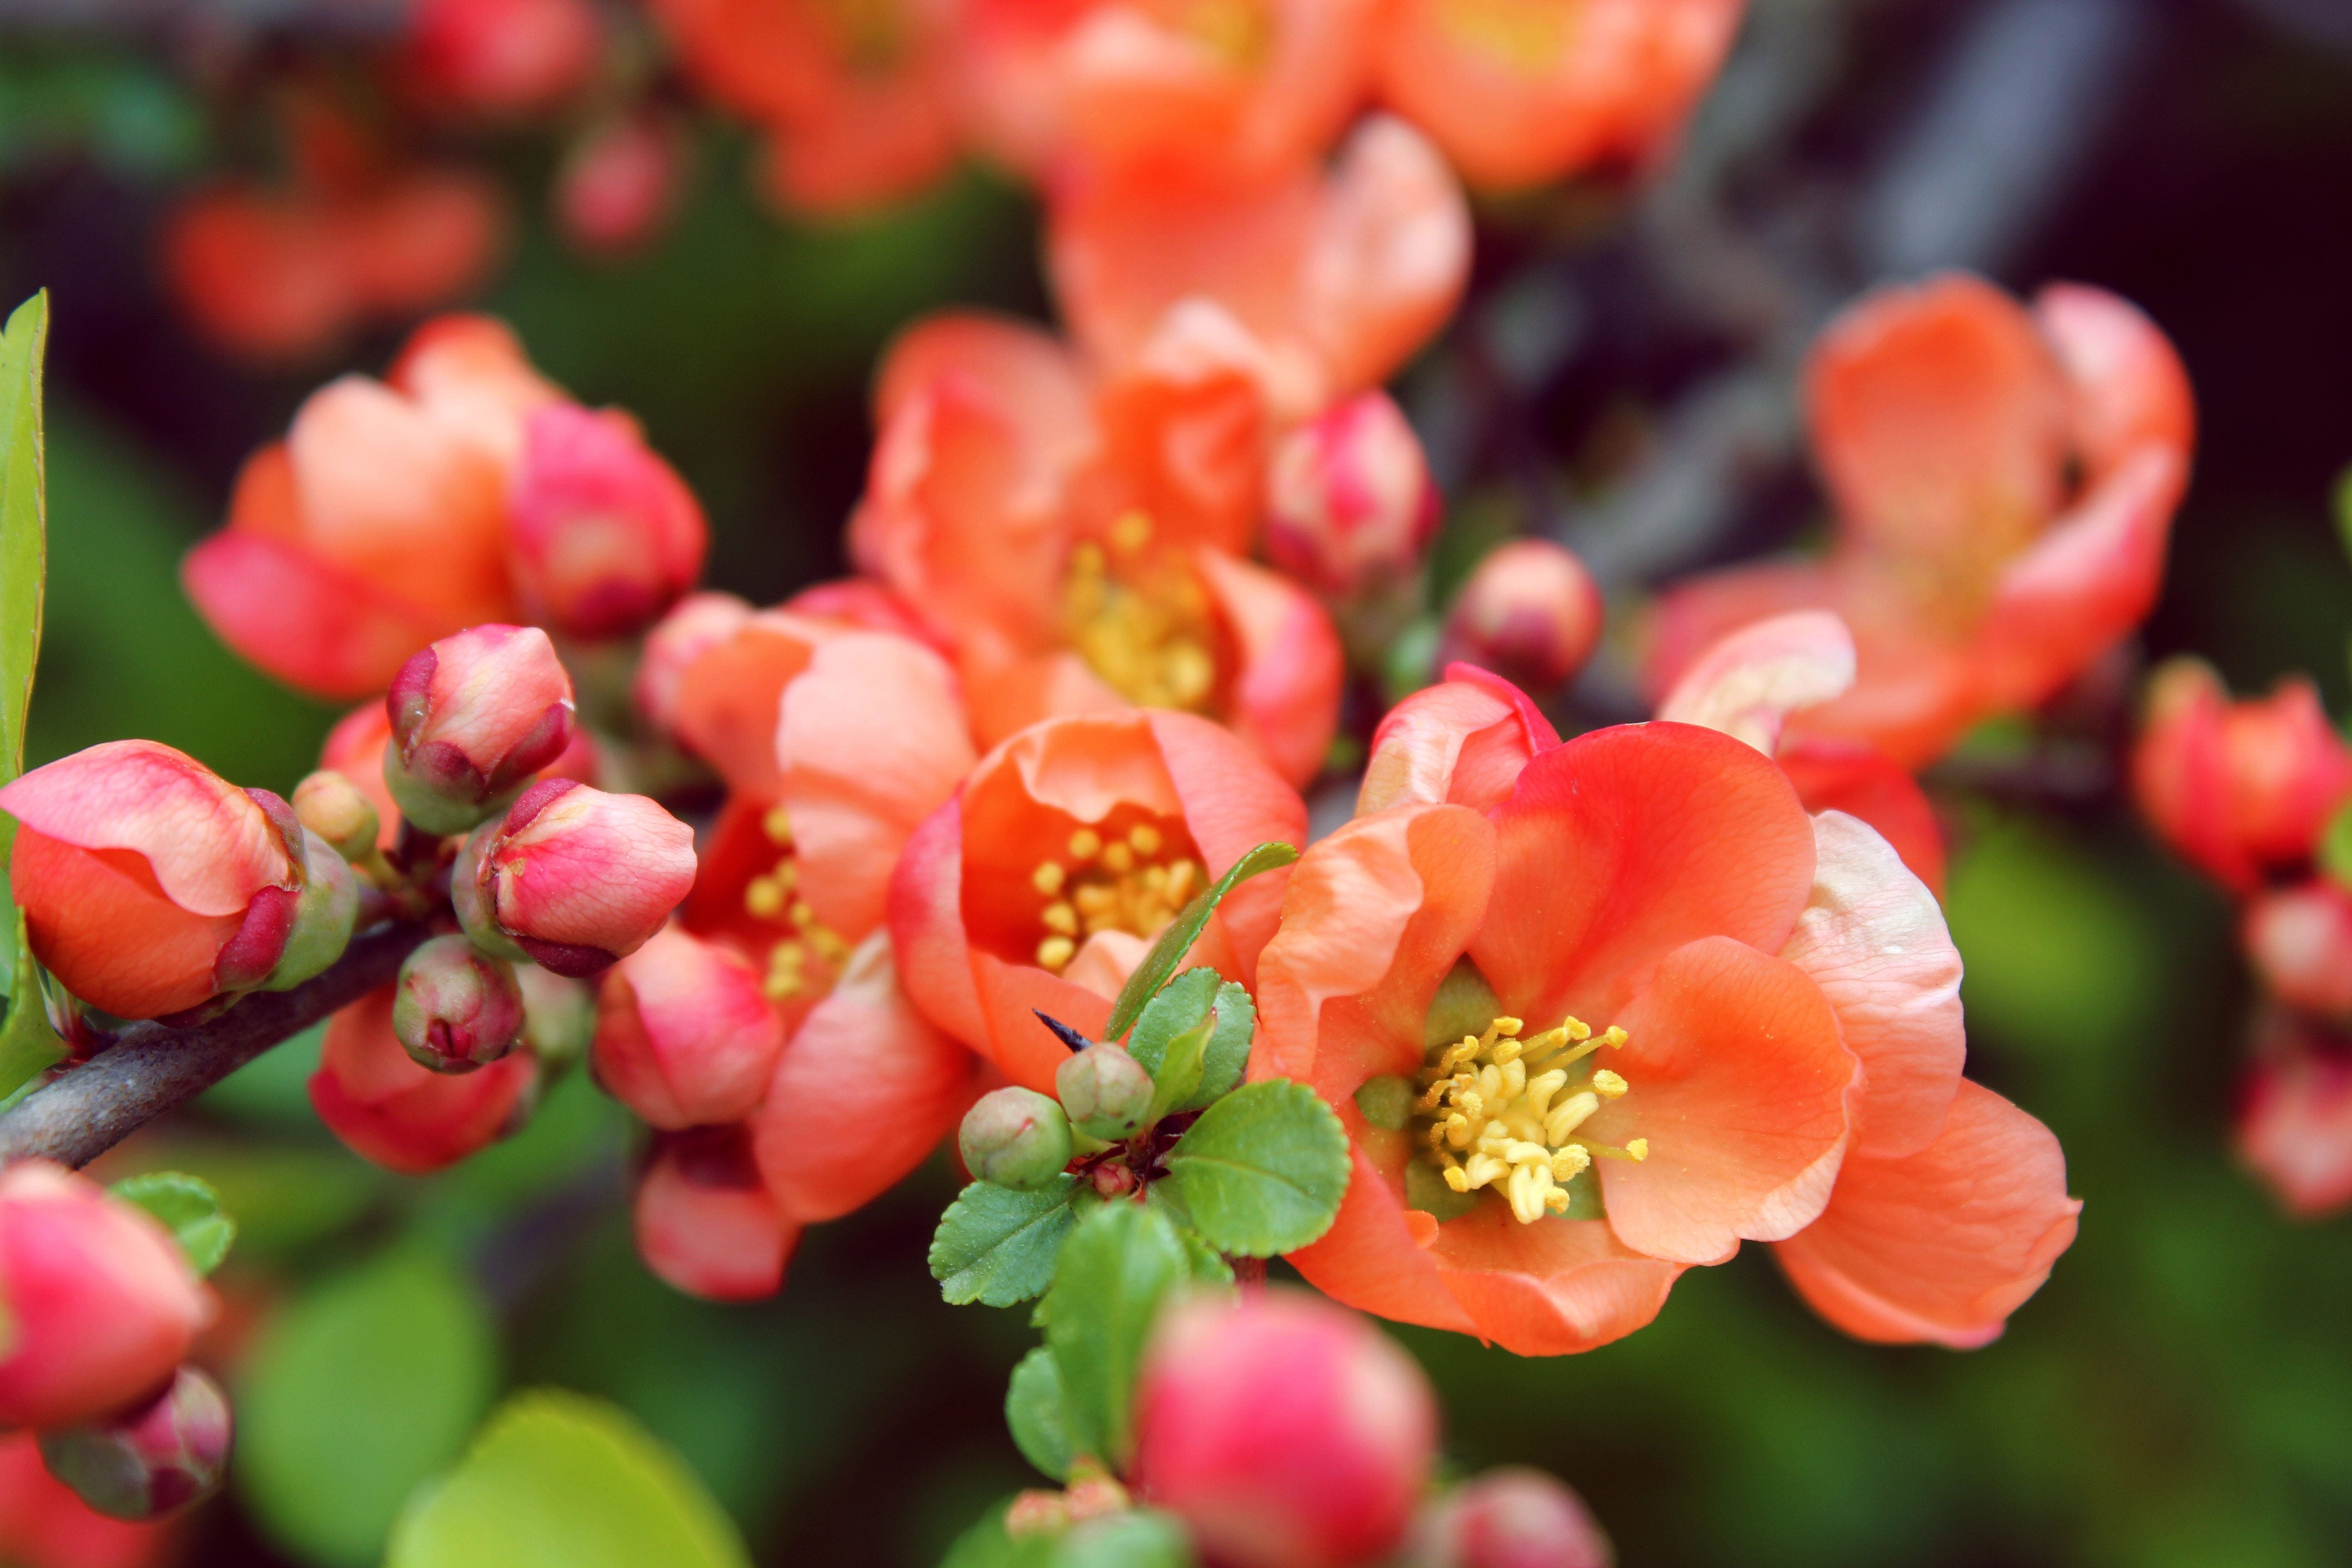
The act of planting fruit trees unfolds a chapter in gardening that brings unmatched joy and visual delight. Imagine the fusion of aesthetic beauty and practical bounty – a garden where flowering trees dazzle in the spring, followed by the lush fruits of your labor come summer and fall. This gardening endeavor isn't just about the harvest; it's about the year-round spectacle of growth and bloom.

At Tristar Plants, we champion the joy of gardening by offering a selection of fruit trees tailored for success with minimal fuss. Our collection allows you to enjoy the essence of gardening without being burdened by constant care. These specially chosen varieties ensure your garden is both a feast for the eyes and the table, with the added perk of being surprisingly easy to nurture.
Alongside our fruit-bearing favorites, we present a stunning variety of flowering trees. Our selections are designed to complement your garden with spectacular blooms that set the stage for the fruiting seasons to follow. Each tree has been chosen for its resilience and low-maintenance needs, ensuring your garden is adorned with floral majesty without the endless toil.
Define Your Orchard Goals and Choose the Right Trees
Before you plant, plan. What type of fruits do you want to eat? What fruits grow well in your area? Do you have space for a large tree, or should you choose a dwarf variety? Your orchard's goals will guide your choice.
Do research. Your local garden center can provide advice. Check your USDA Plant Hardiness Zone which is a guide of where plants can thrive. The zone can help you choose trees suited to your locale.
Your trees must be healthy. A diseased tree won't bear good fruit. When buying, check the tree and look for damage, disease, or pests. The tree should also be sturdy with even branches.
Gather Necessary Tools and Supplies
Now, you have your trees. You need tools and supplies like a spade or garden fork as they help to loosen the soil. A pruning shear is important for shaping the tree and promotes growth. Don't forget a wheelbarrow. It transports the tree, soil, and other supplies.
Soil is important and the right soil makes a happy tree. It should be fertile and well-draining. Organic matter improves soil quality so make compost at home or buy it.
Staking supplies protect the tree as they help it to grow straight. Buy stakes and ties from a garden store.
Mulch conserves water, keeps roots cool and adds nutrients to the soil. A layer of mulch around the tree is beneficial.
Prepare before you plant. Ensure all supplies are ready to make the process easier.
Select the Ideal Planting Location
Choosing the right spot in your yard is an important step in planting fruit trees. Your fruit trees require ample sunlight in order to produce tasty fruits. The location should ideally let in six to eight hours of sunlight daily. Different fruit trees have different light requirements. For example, peach trees need full sun, while apple trees can tolerate some shade. So, consider this when choosing a spot to plant.
Make sure you keep each tree's mature size in mind when deciding on the location. A fruit tree demands enough space to grow, both above and below the ground. You should also ensure that there are no power lines, fences, or other structures that the growing tree could interfere with. Remember, certain fruit trees can reach a height of 20 feet or more!
Prepare the Ground for Planting
Once you've selected the perfect location, it's time to prepare the ground. Healthy soil forms the base of a bountiful orchard. Start by testing the soil pH to understand its nature, be it acidic, alkaline, or neutral. Many fruit trees prefer slightly acidic soil, but it's best to match the soil type with your specific trees' preferences. If required, you can adjust the soil pH using lime to raise or sulfur to lower it.
The next step would be to clear the area of weeds and grass that may compete with your budding trees for nutrients. Next, dig a hole large enough to accommodate the root ball of your tree comfortably. The hole size could generally be three times the size of the root ball. Loosen the soil at the bottom of the hole and around the edges to encourage root penetration. Then, add a layer of compost or well-rotted manure at the bottom to improve soil fertility and give a nutrient-rich head start to your fruit trees.
Dig the Right Size Hole
When it comes to the actual planting, the size of the hole is key. It cannot be too deep or too shallow. A common mistake is to dig a hole that's deeper than the root ball of the tree. This can lead to the tree settling too deep into the ground after watering, which can cause the base of the trunk to rot. Your hole should be just deep enough so that when the tree is placed, the top of the root ball will sit level with or slightly above the ground level. This maximizes the tree's ability to access oxygen and nutrients.
The width of the hole is equally important. Make it comfortably wide because the roots need to spread out, not down. A hole that is two to three times the width of the root ball is typically advised. This loosened soil around the edges makes it easier for the roots to expand and anchor the tree. Amend the soil you'll be putting back around the tree with compost, which will provide a beneficial environment for the tree to establish itself.
Place and Position the Fruit Tree in the Hole
After preparing the hole, it's time to introduce your fruit tree to its new home. Carefully place the tree in the center of the hole. The direction the tree faces can influence its health and fruit production. For example, if there was a side of the tree facing the sun previously, it can be beneficial for it to face that same direction after planting. This keeps the orientation the same, reducing stress on the tree.
Once you have set the tree in the hole, step back and view it from several angles to ensure it's standing straight. This is important for the structural integrity of the growing tree. Backfill the hole halfway with the soil you dug out, watering it a little to settle the soil and eliminate air pockets. Finish filling the hole, patting down the soil gently as you go. This step helps to stabilize the tree and guarantees good contact between the roots and the soil. Remember, the way you plant your tree sets the tone for its growth and fruit production in the years to come. Careful placement and positioning are key elements in creating a successful home orchard.
Backfill the Hole and Secure the Tree
The process of backfilling involves refilling the hole in which the tree has been placed with soil. This is a critical stage, as doing it correctly ensures that air pockets, which can dry out roots, are removed. Alternate between adding a layer of soil and watering, thus allowing the soil to settle naturally around the root ball. This method not only secures the tree firmly in place but also creates an environment conducive to root growth and access to moisture and nutrients.
Once the hole is completely backfilled, it’s time to secure the tree. If the tree is tall or in a windy spot, stakes may be necessary to prevent it from leaning or being uprooted. Use two stakes on opposite sides of the tree and attach them with tree ties. These ties should not be too tight, allowing some movement as the tree grows. Securing the tree helps to sustain its growth vertically, ensuring it can transport nutrients effectively throughout its structure. Stability in these early stages promotes a structure robust enough to withstand the elements and bear fruit eventually.
Watering the Newly Planted Fruit Tree
Watering is the final step in the planting process. The first watering is critical as it helps to reduce stress from the transplant and settle any remaining air pockets. Begin by creating a water well around the base of the tree. This is a circular mound of soil that helps to hold water near the roots and directs it downward rather than letting it run off. Give the tree plenty of water, allowing the water to infiltrate slowly to reach deep into the root zone.
Maintaining moisture in the soil after planting is just as important. Regular watering, especially in the early days, helps the tree to get established. New trees are especially vulnerable to drought stress because their roots have yet to grow deep enough to reach moisture in the soil. The frequency of watering will depend on the weather and soil type. A simple check for soil moisture is to dig a small hole near the tree and feel the soil. If it’s dry several inches down, it’s time to water. Remember, consistent care during these initial stages paves the way for your fruit tree to grow strong and produce an abundant harvest in the future.
Apply Mulch for Moisture Retention and Weed Control
Mulching is an effective strategy to maintain soil moisture and suppress weed growth around your new fruit tree. By applying a layer of organic material, such as straw and shredded bark, around the base of the tree, you can significantly reduce the evaporation of water from the soil, thereby providing a more consistent level of moisture for the tree's roots. This consistent moisture is vital for the tree's growth and fruit development. The mulch should be applied in a donut shape, extending out to the drip line of the tree but avoiding direct contact with the tree's trunk. This prevents moisture from accumulating against the trunk, which could lead to rot or disease.